UNRAID安装openwrt

本文简述unraid(6.10.1)下如何安装openwrt,使用虚拟网口,非直通。

#准备材料

  • x86/x64版openwrt的.img镜像固件

我比较倾向使用Lean大的,简约高效,网上一些其他人编译的高大全的固件都是基于他的源码修改的。本站也提供了下载:

大雕lean openwrt固件下载(x64-R22.4.7)

将下载的.img文件放到unraid下domains目录下。domains目录是专门放镜像文件的,缓存配置的Prefer,也可以自建目录。

#安装

1,新建虚拟机

VMs——》ADD VM——》选择Linux

2,配置虚拟机

Autostart:建议打开

Logical CPUs:分配的CPU数量

Initial Memory:分配的物理内存,256-512M足够了

Machine:默认

BIOS:如果固件是UEFI版的可以选OVMF;如果是combined的就选SeaBIOS

Primary vDisk Location:选Manual(手动配置),然后选择.img镜像文件的路径

Primary vDisk Bus:默认VirtIO即可,使用虚拟IO总线

Network Model:这里的网卡类型需要改成e1000,否则在openwrt里的网卡就不能是全双工。

完了就直接新建的同时开启虚拟机。

3,配置openwrt的IP和密码

左键点击虚拟机图标,选 VNC Remote,进入linux后台

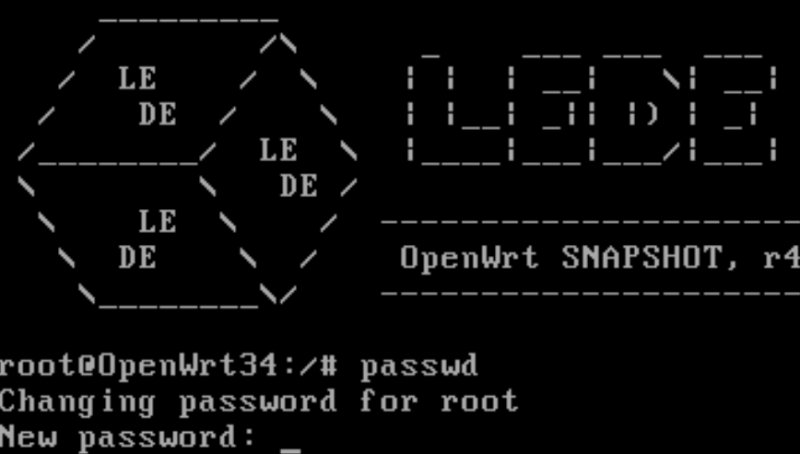
进入后台后按回车就可以显示命令行,然后输入以下命令,即可更改密码。需要输入两次,并且密码不会明文显示。

passwd

密码改完后,输入命令以下命令修改openwrt虚拟机局域网IP

vi /etc/config/network

将option ipaddr 后面的地址更改为你指定的IP。 (linux的vi指令不会用的自行百度)

改完后返回虚拟机,点击图标选择restart重启虚拟机

#登录openwrt后台

在浏览器输入刚才配置的IP地址即可访问登录openwrt后台

enjoy~

通俗解释UNRAID缓存机制和简单应用

Use cache pool (for new files/directories): No/Yes/Only/Prefer

#通俗解释

  • cache(缓存)只对新数据有效
  • mover是用来将缓存中的数据移动到阵列磁盘中
  • mover可以设置定时任务,在机器空闲时自动运行
  • No:不缓存,数据直接写入阵列。不建议下载用的文件夹设置no
  • Yes:会缓存,但缓存满了会自动写入阵列。
  • Only:只缓存,缓存满了也不会写入阵列。
  • Prefer:和Yes很像,区别是他会在缓存中留一份阵列的镜像数据用于快速读取。一般用于系统盘目录,比如domains目录。

#原文与翻译

Specify whether new files and directories written on the share can be written onto the Cache disk/pool if present. This setting also affects mover behavior.

指定写入共享的新文件和目录是否可以写入缓存磁盘/池(如果存在)。此设置也会影响移动器行为。

No prohibits new files and subdirectories from being written onto the Cache disk/pool. Mover will take no action so any existing files for this share that are on the cache are left there.

No禁止将新文件和子目录写入缓存磁盘/池。 Mover将不执行任何操作,因此缓存中此共享的任何现有文件都将保留在那里。

Yes indicates that all new files and subdirectories should be written to the Cache disk/pool, provided enough free space exists on the Cache disk/pool. If there is insufficient space on the Cache disk/pool, then new files and directories are created on the array. When the mover is invoked, files and subdirectories are transferred off the Cache disk/pool and onto the array.

是表示所有新文件和子目录都应写入缓存磁盘/池,前提是缓存磁盘/池上有足够的可用空间。如果缓存磁盘/池上的空间不足,则会在阵列上创建新文件和目录。调用移动器时,文件和子目录会从缓存磁盘/池中传输到阵列上。

Only indicates that all new files and subdirectories must be written to the Cache disk/pool. If there is insufficient free space on the Cache disk/pool, create operations will fail with out of space status. Mover will take no action so any existing files for this share that are on the array are left there.

仅表示必须将所有新文件和子目录写入缓存磁盘/池。如果缓存磁盘/池上的可用空间不足,创建操作将失败并显示空间不足状态。 Mover将不执行任何操作,因此阵列上此共享的任何现有文件都将保留在那里。

Prefer indicates that all new files and subdirectories should be written to the Cache disk/pool, provided enough free space exists on the Cache disk/pool. If there is insufficient space on the Cache disk/pool, then new files and directories are created on the array. When the mover is invoked, files and subdirectories are transferred off the array and onto the Cache disk/pool.

Prefer表示所有新文件和子目录都应写入缓存磁盘/池,前提是缓存磁盘/池上有足够的可用空间。如果缓存磁盘/池上的空间不足,则会在阵列上创建新文件和目录。调用移动设备时,文件和子目录会从阵列传输到缓存磁盘/池上。

NOTE: Mover will never move any files that are currently in use. This means if you want to move files associated with system services such as Docker or VMs then you need to disable these services while mover is running.

注意: Mover 永远不会移动当前正在使用的任何文件。这意味着如果您想移动与系统服务(例如 Docker 或 VM)关联的文件,则需要在移动程序运行时禁用这些服务。

官网五折半价购买UNRAID教程

虽然官网能直接输入折扣码,但却不支持凭空购买。必须要从U盘启动后进入购买链接

#需要的工具

  • 大于1G的U盘
  • 一台windows、mac或者linux,用于制作U盘启动盘
  • 一台能插U盘能插网线的设备(理论上也可以从上面windows内建一台vmware虚拟机实现)
  • 五折优惠折扣码,UNRAID官网五折优惠折扣码

#制作启动U盘

这个教程网上很多。简单来说在官网下载专用u盘制作软件,或者手动配置也可以,UNRAID手动配置启动U盘

我个人建议在做U盘的时候就直接指定静态IP地址(不要用DHCP,用static),并且配置好gateway(网关)和DNS。

#用U盘启动另一台联网设备

1,将U盘插入另一台已联网的设备,注意在BIOS内将启动项改为U盘优先。开机启动会自动进入UNRAID OS。

2,在浏览器输入先前指定的IP就可以访问unraid后台

第一次登录用户名root,密码自己自己设一下。

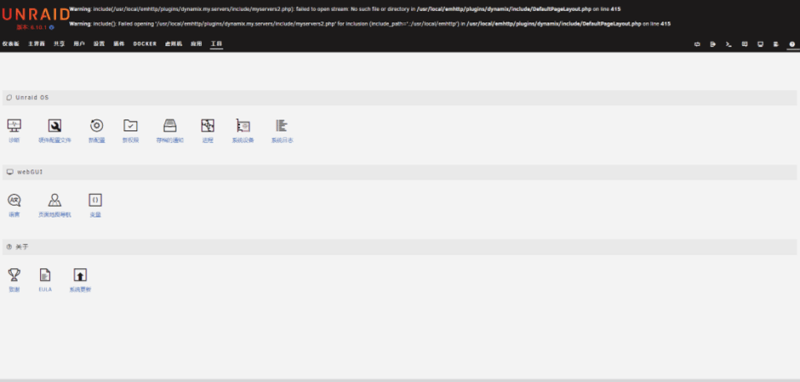
如果登录后界面出现如下错误,重启一下。

#添加中文语言包

在unraid界面——》Tools——》Language——》输入下面的地址,然后INSTALL

https://gitee.com/ouiae/language-templates/raw/master/limetech/lang-zh_CN.xml

#购买密钥

1,点右上角购买密钥

2,选择版本,立即购买。会弹出一个支付窗口,复制这个窗口上方的链接,然后在浏览器新建一个网页黏贴打开这个链接

3,在新打开的链接中输入邮箱等信息和优惠码(UNRAID官网五折优惠折扣码),进入支付页面,不出意外就能看到半价了。

#配置购买到的密钥

1,支付完成后页面会跳转,有可能会显示“安装您的新密钥出错”,但不要紧。复制红色字下方结尾是.key的链接,这就是密钥文件的链接。

2,回到unraid界面——》工具——》注册,填入刚才的key链接,完成!

enjoy~

UNRAID手动配置启动U盘

如果由于某种原因无法使用 USB Flash Creator 工具,或者未检测到您的 USB 闪存设备,则可以手动格式化并准备可启动的 USB 闪存设备。 注意:此方法仅适用于 32GB 及以下的设备

  1. 将 USB 闪存设备插入您的 Mac 或 PC。
  2. 使用 FAT32 文件系统格式化设备。它不能是 ex-FAT 或 NTFS。
  3. 将“卷标”设置为UNRAID(区分大小写,使用全部大写)。
  4. 转到下载页面。获取要使用的版本的 zip 文件。
  5. 选择一个版本并将其下载到您计算机上的临时位置(例如“下载”文件夹)。
  6. 将新下载的 ZIP 文件的内容提取到您的 USB 闪存设备上。
  7. 浏览到 USB 闪存设备以查看从 Mac 或 PC 中新提取的内容。
  8. 如果需要启用 UEFI 引导,请将EFI-目录重命名为EFI
  9. 运行适合您正在使用的操作系统 的make bootable脚本

Windows 7 或更高版本

右键单击make_bootable.bat文件并选择Run as Administrator

苹果电脑

双击文件make_bootable_mac文件并在出现提示时输入您的管理员密码。

Linux

将make_bootable_linux文件复制到硬盘

卸载(不弹出)USB 驱动器

从您将其解压到 Linux 系统上的任何位置运行以下命令:

sudo bash ./make_bootable_linux

注意:在运行此脚本的过程中,闪存设备可能会在您的工作站上消失并重新出现几次——这是预期的行为。