一,实现的功能
smartdns负责智能解析出访问域名最快的IP地址,然后将这些信息储存进pihole中作为缓存。这样我们访问网站或其他地址就不用每次都需要解析了,而是直接从pihole中选择最优线路。 

二,安装环境
今天的教程都是安装在linux debian上,所以要准备好能连入互联网的debian。
如果你是使用虚拟机的话(比如esxi,PVE等等)那就直接安装一个debian,参考我先前的debian安装加速;如果你是使用PC的话就要先装一个vmware虚拟机,再装linux系统。 debian的话虚拟机给1个CPU,1G内存就够了。
三,配置debian
本教程使用debian10系统,尽量使用与本教程相同系统版本。Ubuntu的话命令格式有可能有些许差别,请自行google转换命令。
0,安装debian组件,后面可能会用到
apt-get install wget
apt-get install vim
apt-get install curl
1,进入debian,切换成root用户。
注意”-“千万别漏,否则后面pihole的环境变量出错会报安装错误
su -
运行后输入root密码。
2,修改静态IP
debian安装完一般是被DHCP自动安排了IP地址,不方便后期操作,先自己更换成静态IP地址。输入以下命令
nano /etc/network/interfaces
直接将”dhcp“改为”static“,(我是把dhcp那行注释掉再另外添加一行的,效果都一样。) 然后再添加address,netmask和gateway

address:自行指定的静态IP,别和局域网内其他IP冲突即可。 netmask:子网掩码,255.255.255.0就行了。 gateway:网关,有openwrt能翻墙的就填openwrt的IP;没有的就填自己主路由的IP。 完成后保存,并重启debian使IP生效。
reboot
四,安装smartdns
去smartdns官网https://github.com/pymumu/smartdns/releases/下找到最新版本的linux-all.tar.gz的安装包,右键点他复制链接

在debian中运行如下命令下载安装包(以上图版本为例),依然别忘了用”su -“先切换到root用户
wget https://github.com/pymumu/smartdns/releases/download/Release30/smartdns.1.2020.02.25-2212.x86_64-linux-all.tar.gz
解压缩
tar xvf smartdns.1.2020.02.25-2212.x86_64-linux-all.tar.gz
赋予安装程序权限
chmod +x ./smartdns/install
运行安装程序
./smartdns/install -i
配置smartdns
(我这里只罗列了几个我觉得比较方便修改的参数,但还是建议大家去github的smartdns官网查看配置文档,以满足不同的需求,地址。) 打开配置文件
nano /etc/smartdns/smartdns.conf
1,修改smartdns的监听端口号。找到”bind [::]:53“,将53端口改为其他任意端口号,比如10053

2,将缓存大小”cache-size 512“改为0,也就是”cache-size 0“,因为我们不需要smartdns的自带缓存,待会要将缓存设到pihole中去。

3,禁止查询解析IPv6,因为ipv4的速度远快于ipv6。将”#force-AAAA-SOA [yes/no]“改为”force-AAAA-SOA yes“

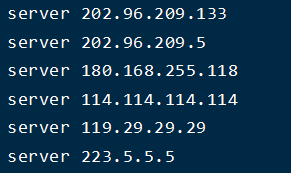
4,添加UDP类型上游dns,用于国内解析。前3条是我这里本地电信的DNS,可以替换成你们本地的(需要自行百度查找)。后3条是公共的dns,可以不变

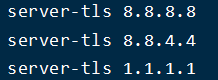
5,添加TLS类型的上游dns,用于国外解析。我这里用的都是国外的公共dns。

6,启动smartdns
systemctl start smartdns
7,将smartdns添加为开机自动启动
systemctl enable smartdns
五,安装pi-hole
用”su -“先切换到root用户。千万不能漏掉”-“,再次提醒! 运行自动安装脚本,安装过程中一直回车就行了。
curl -sSL https://install.pi-hole.net | bash

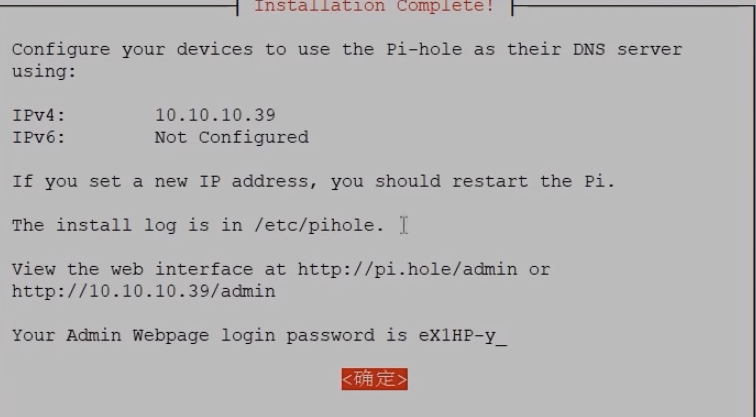
跳出这个界面说明安装完成了。 运行以下命令先修改下pihole的密码,密码不会显示,输完直接回车就行了。
pihole -a -p
查看debian的本地dns,是否已经是127.0.0.1,也就是使用本机自己作为dns。
cat /etc/resolv.conf

配置pi-hole
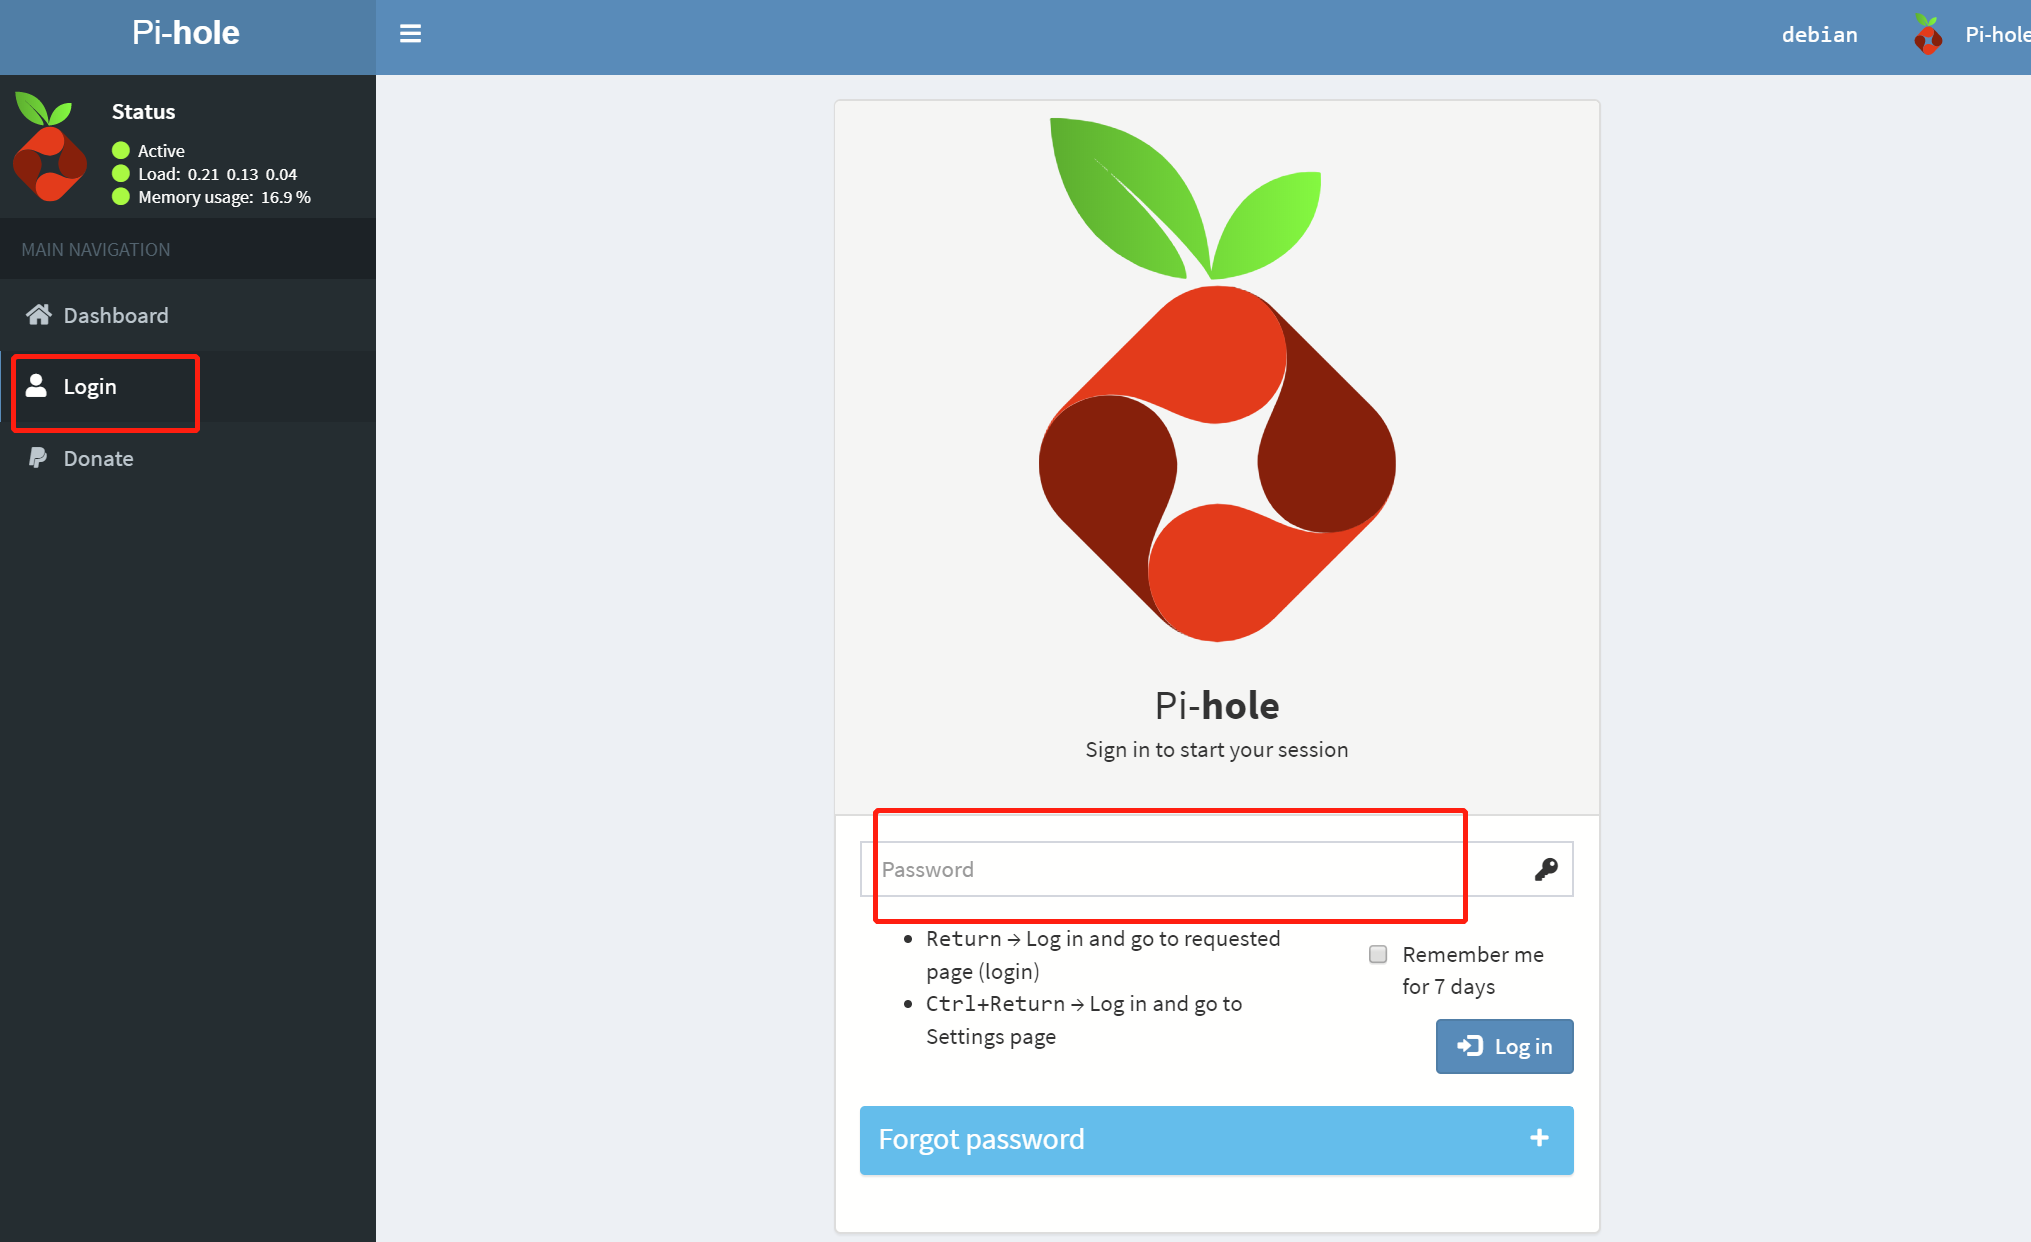
1,在浏览器打开pihole的主页,其中192.168.2.148是debian的IP地址,改成你自己的!
http://192.168.2.48/admin/index.php?login

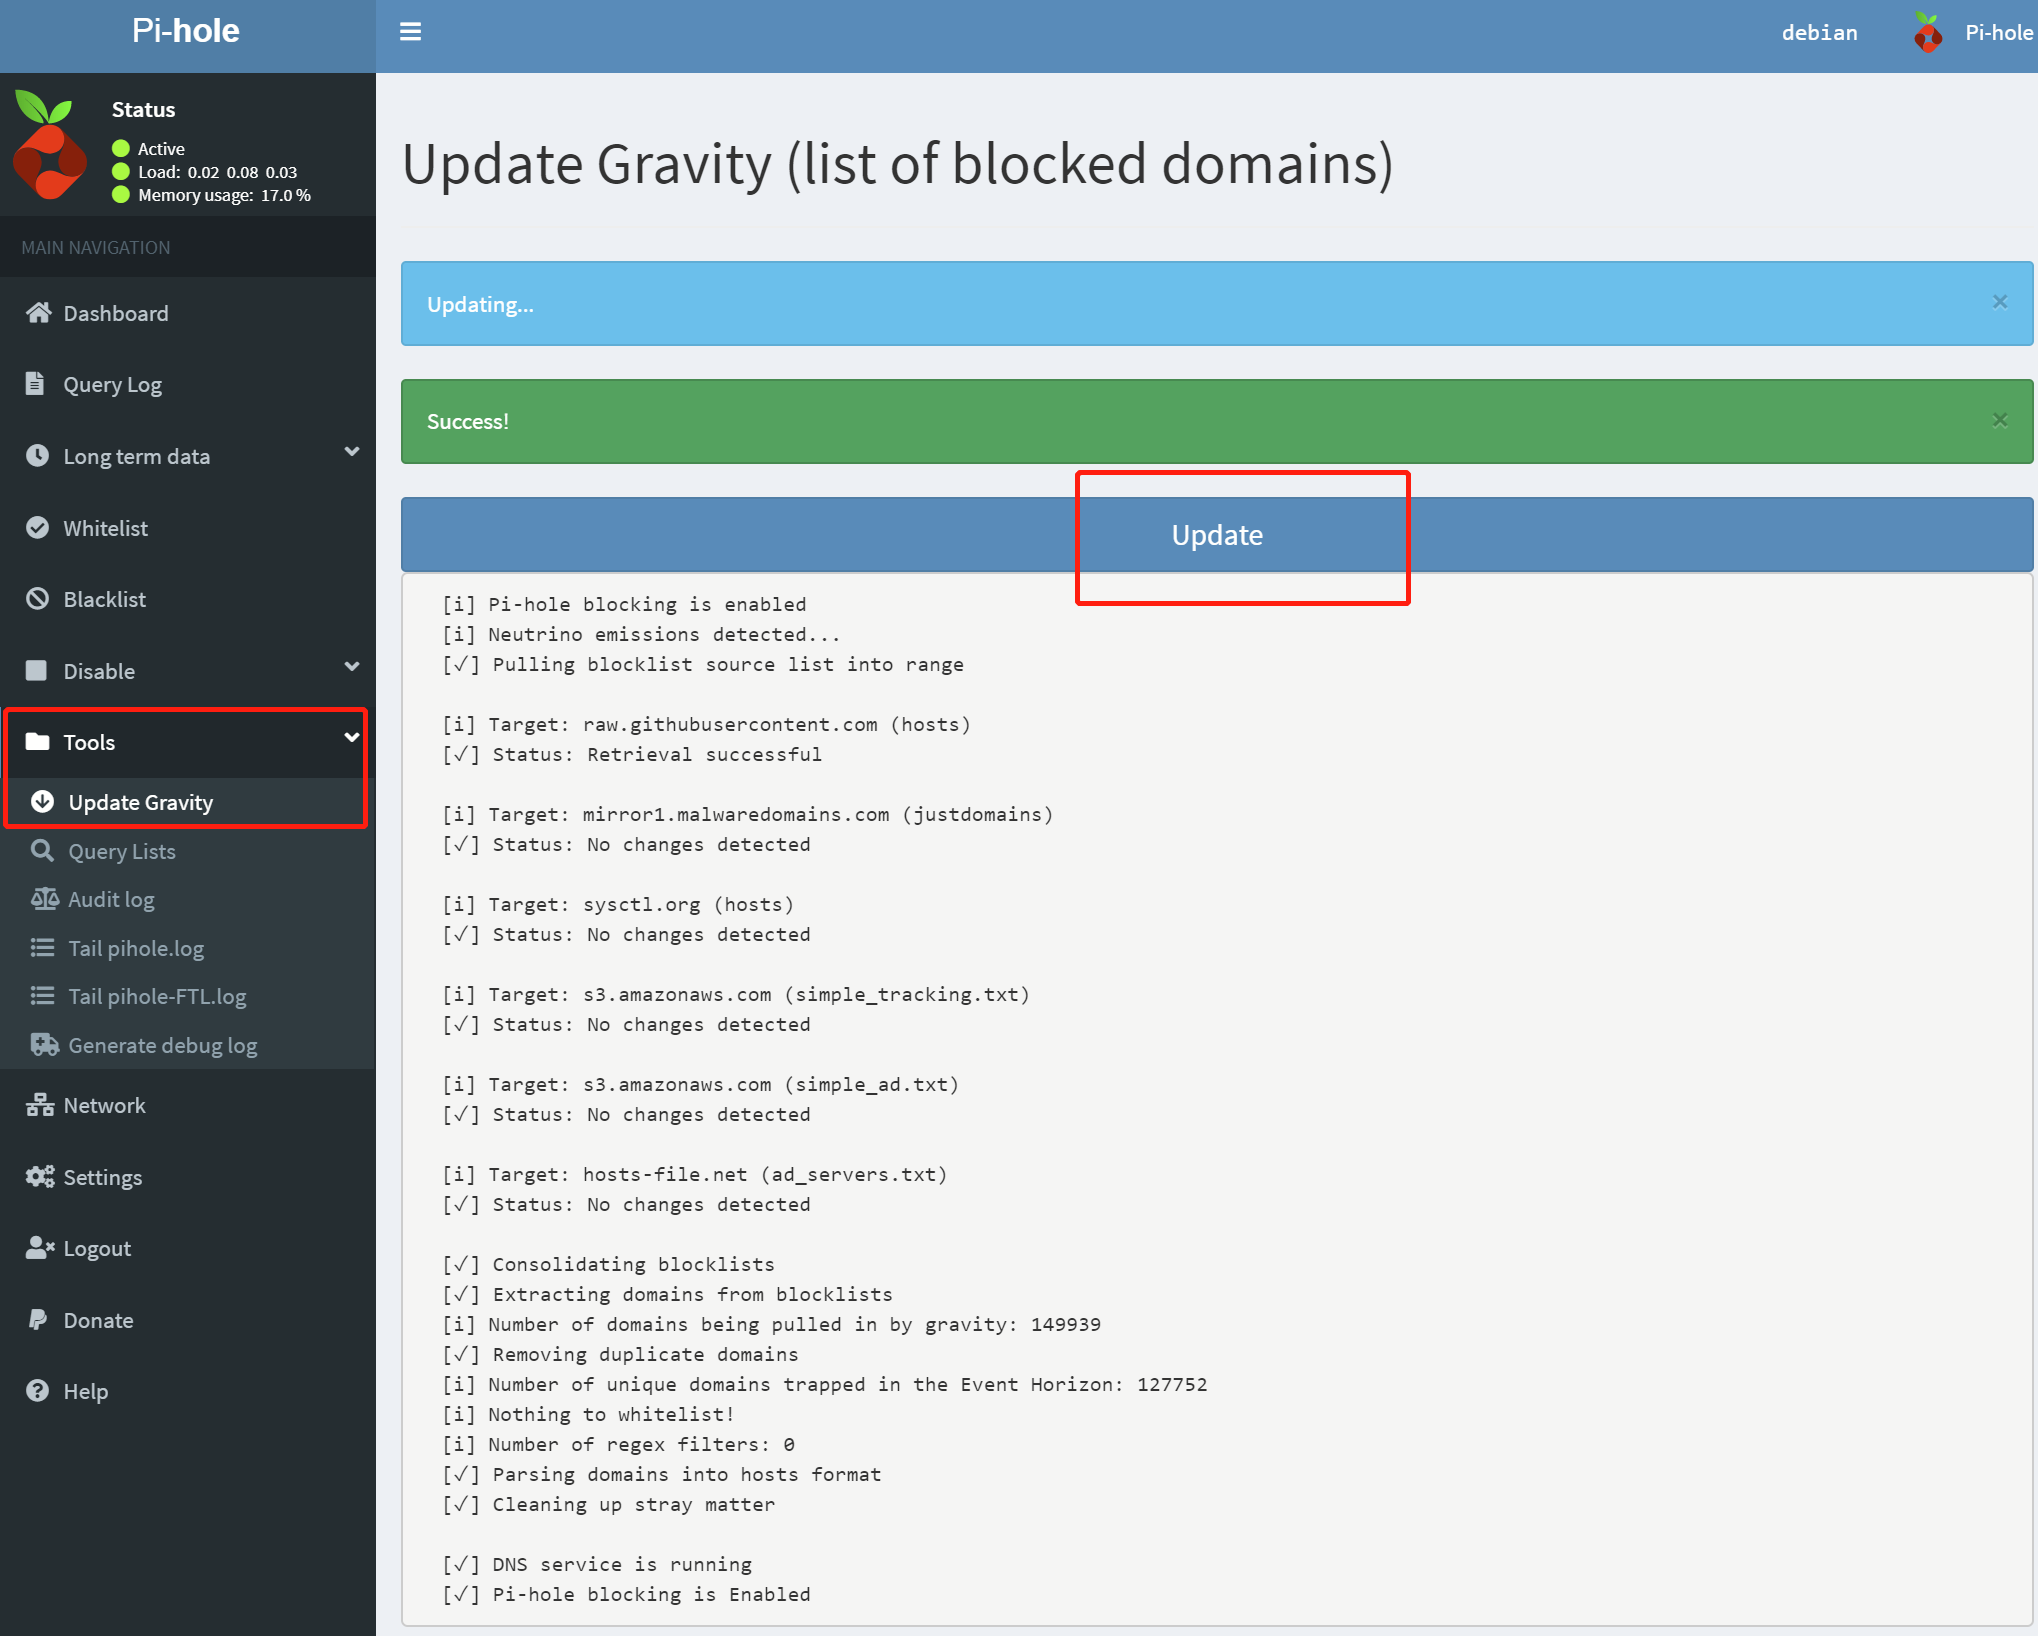
2,更新规则。 Tools–》update gravity–》update

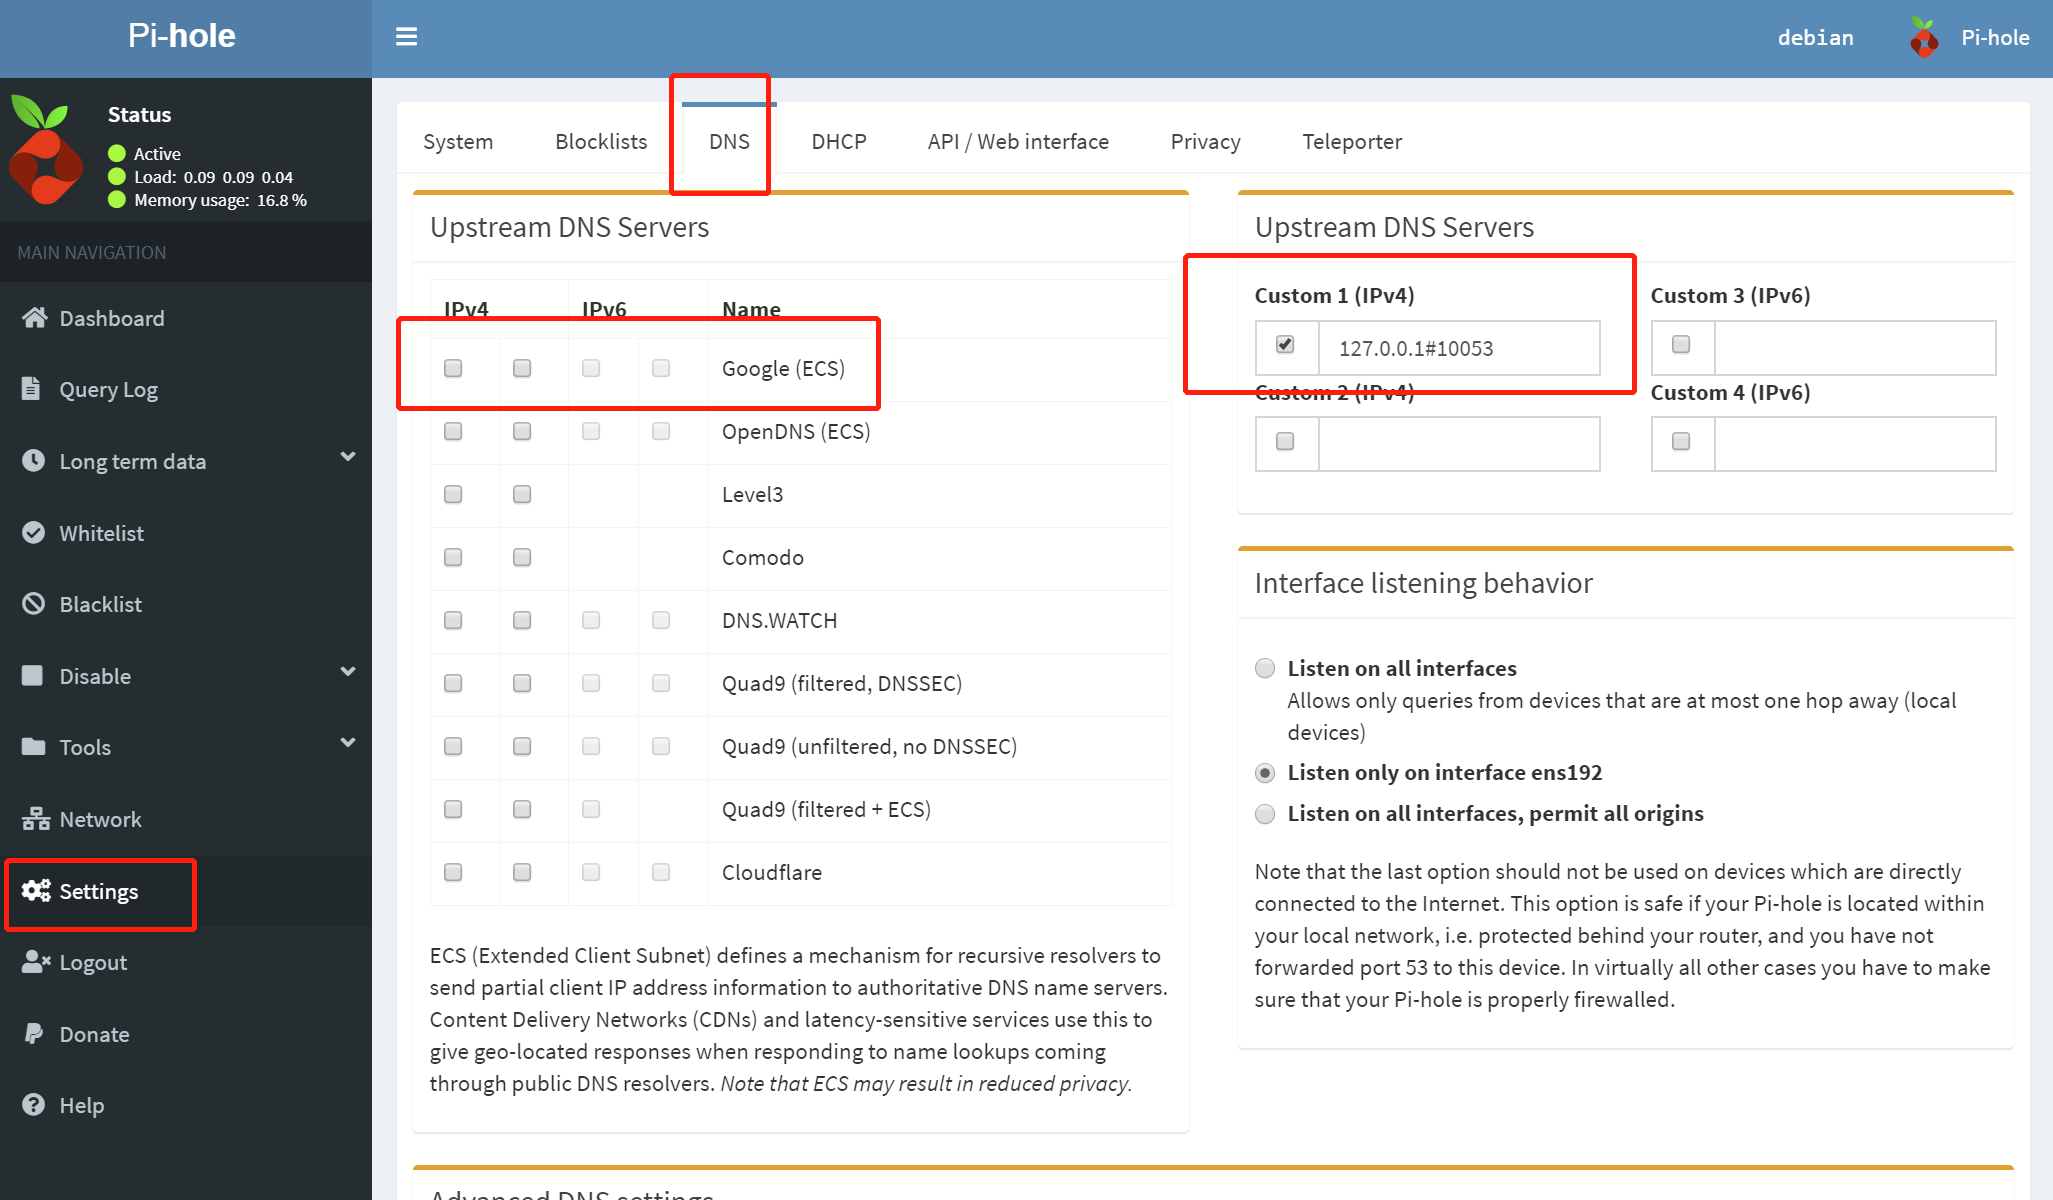
3,将smartdns设置为pihole的上游dns settings–》DNS–》google一行取消打勾–》Upstream DNS Servers–》custom1 IPv4 填入127.0.0.1#smartdns的端口 10053就是上面再smartdns中设置的监听端口。

4,
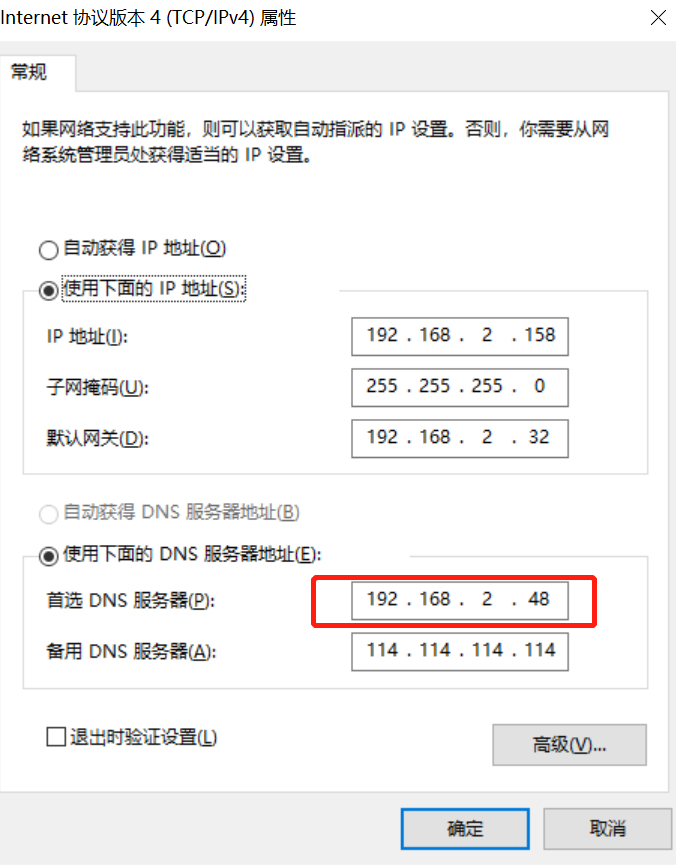
六,将客户端的DNS设置为debian的IP地址
比如,在windows中,将首选DNS设置为debian的IP。

七,检查是否正常开启
1,重启debian,然后输入top查看后台进程,smartdns和pihole是否会被自动启用。

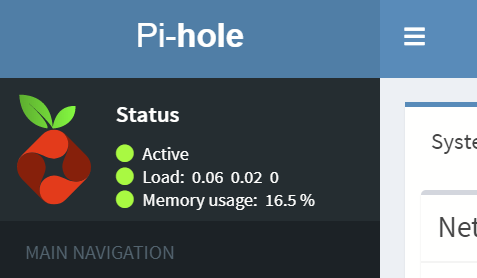
2,查看pihole是否运行显示绿色active

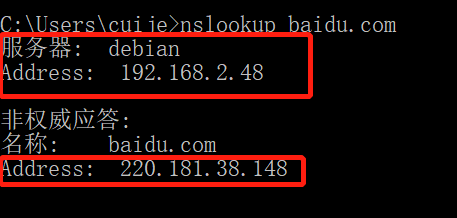
3,在windows中,windows键+R–》输入cmd呼出命令行模式–》输入nslookup baidu.com

以我上图为例:
- 由于baidu.com在全国有很多个服务器,220.181.38.148是smartdns解析出我访问baidu.com最快的一个。并且将这个IP地址保存进pihole(192.168.2.48)作为缓存。今后不必每次都解析。这样就提高了访问速度。